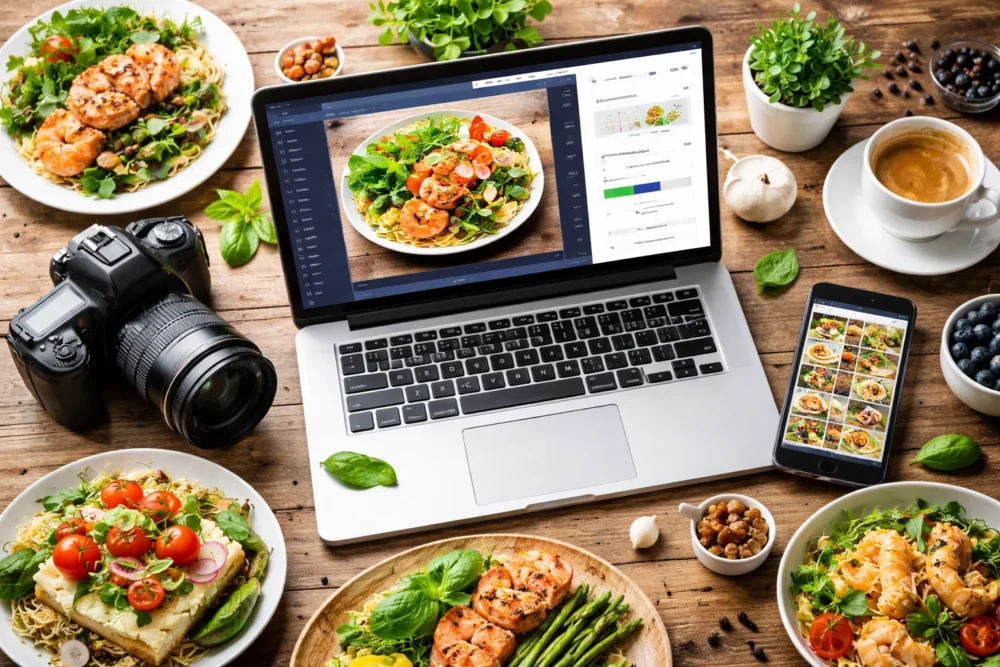
Food photography on websites shows customers what they’ll get before they visit or place an order. Good photos need to load fast and look appetising on every screen. However, most restaurants upload huge file-size images straight from their camera without any compression.
Those oversized files cost you customers who won’t wait around for a slow website. In fact, research shows that when page load times go from 2 to 5 seconds, the average bounce rate climbs from 9% to 38%. And massive uncompressed images are what’s slowing things down.
In this article, we’ll walk you through choosing the right image format and compressing photos without ruining quality. You’ll also learn about the tools for straightforward compression.
Let’s read on to make your website look as good as your food tastes.
Why Food Photography is Essential for Your Restaurant Website
Food photography affects your website as it creates the first impression customers have of your restaurant before they walk through the door or place an order. When push comes to shove, those images tell people whether your food is worth their time and money.
Take a look at why food images are important for restaurants.
Photos Build Trust Before the First Visit
Customers judge your restaurant within seconds of landing on your site. Working with Queensland cafes and Brisbane restaurants has shown us that high-quality food images do more than just look pretty. They show that you care about presentation and the small details in your business.
Conversely, poor photos or generic stock images make visitors question whether the food really looks like that. For example, a blurry burger photo might save you time upfront, but it costs you trust before anyone even sees your menu.
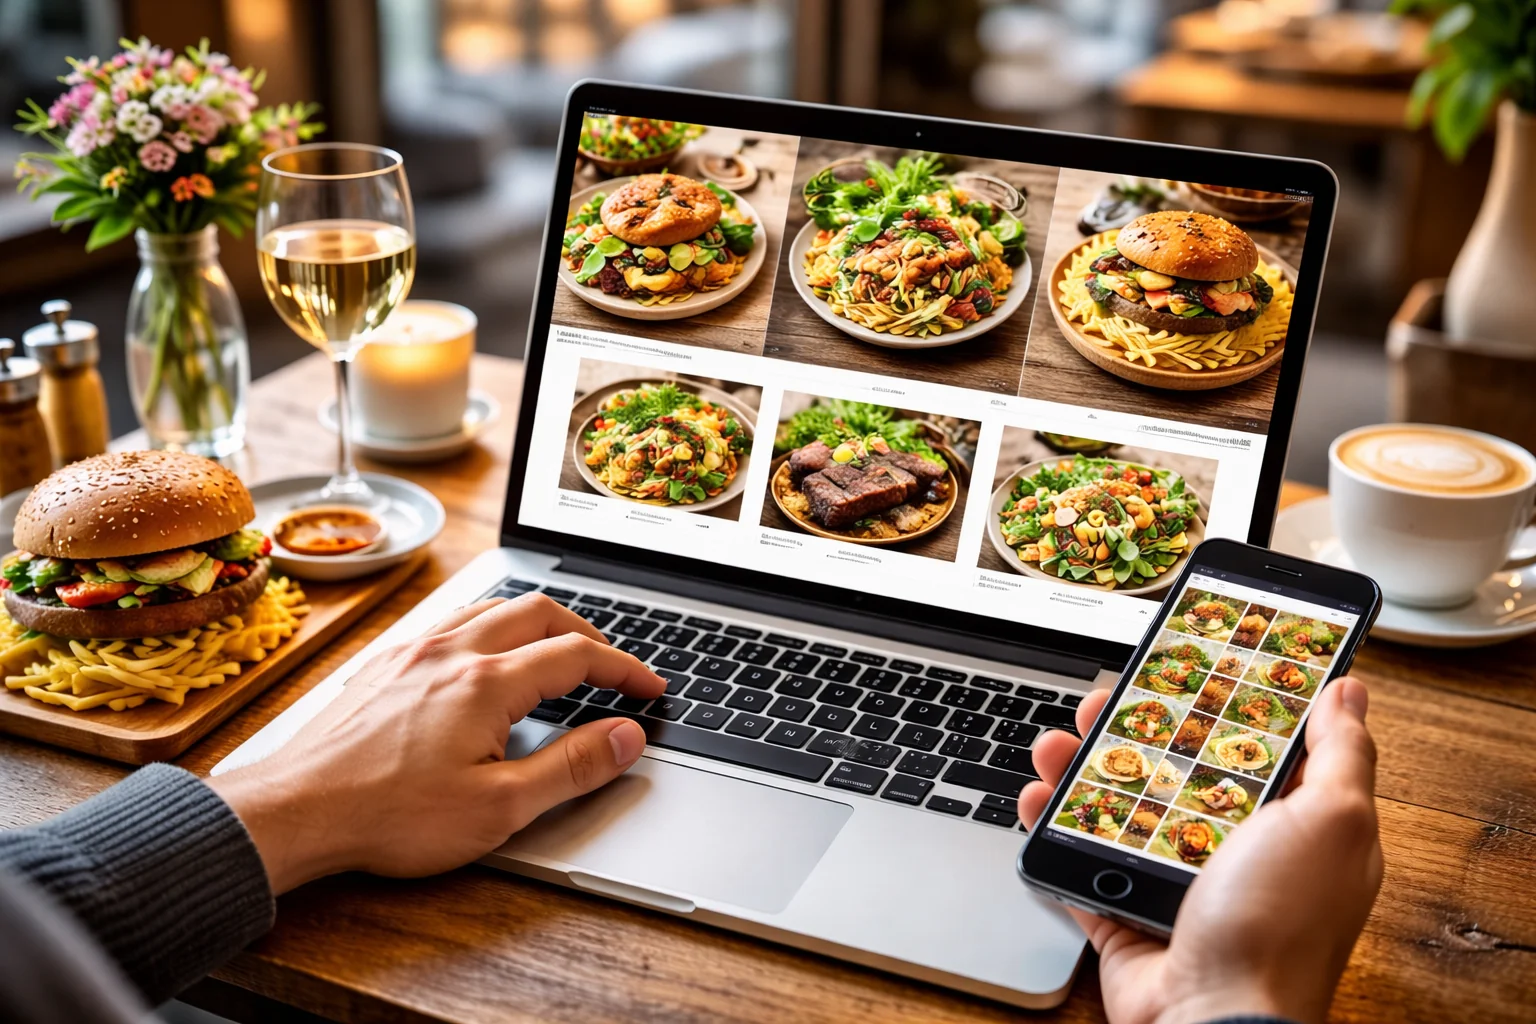
How Image Quality Affects Conversion Rates
Unclear or dark photos increase bounce rates because people can’t see what you’re offering. Meanwhile, professional food photography can boost online orders by showing accurate, appetising dishes that match what customers will get.
Not to mention, sites with optimised images load faster, which keeps hungry customers from clicking away frustrated.
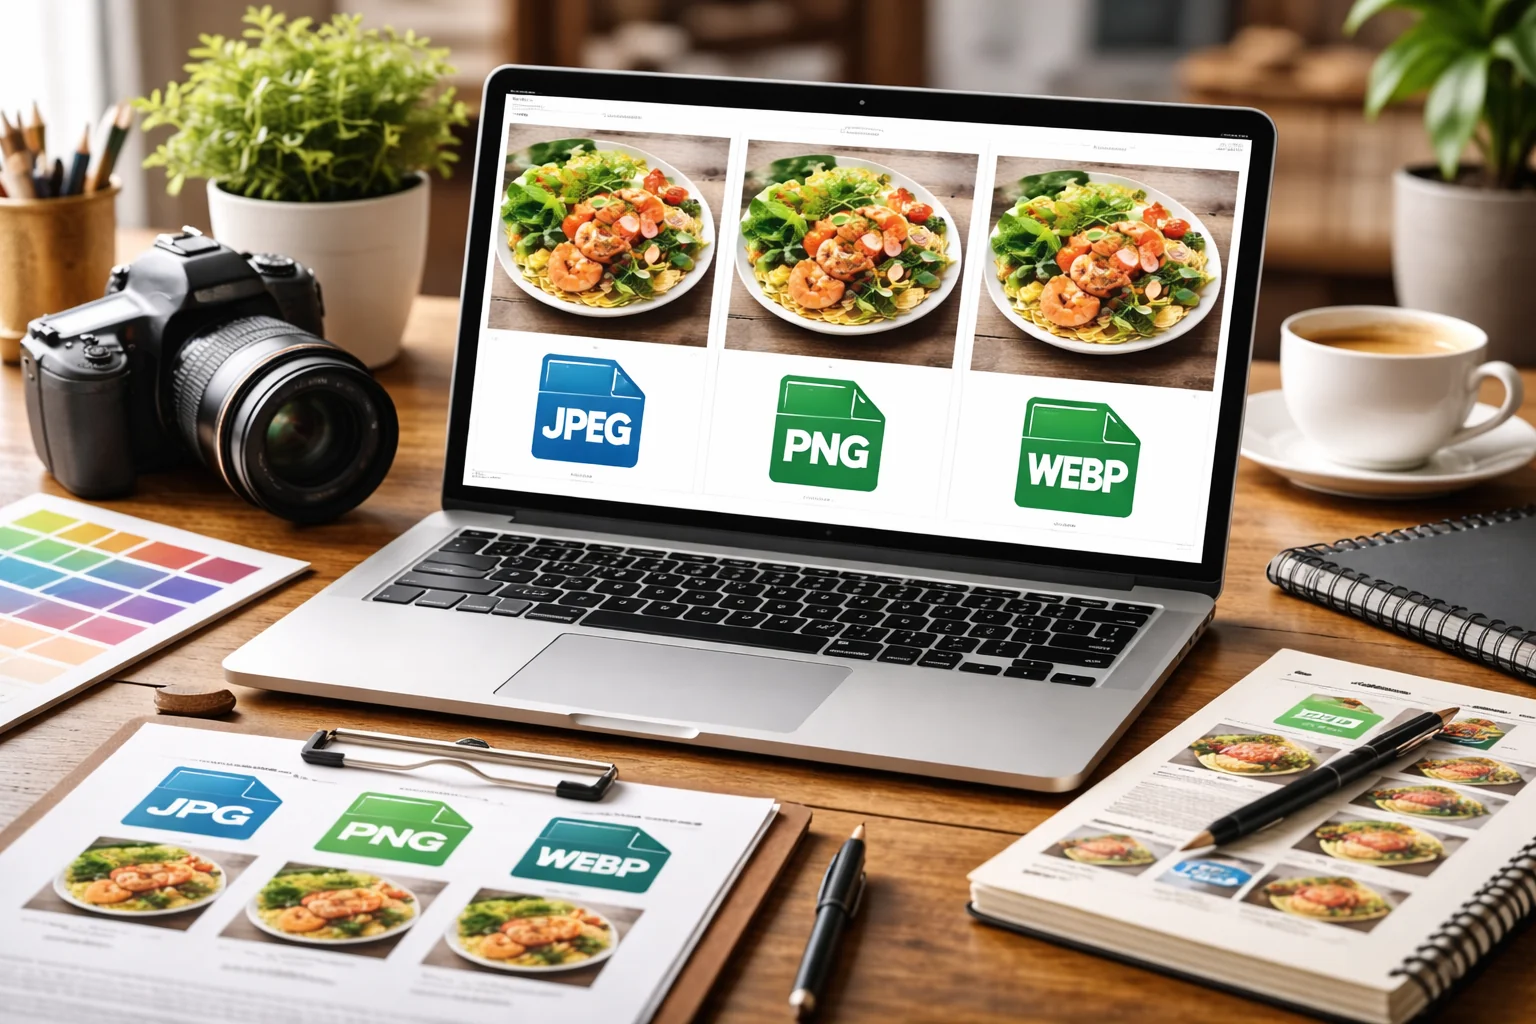
File Formats Explained: JPEG, PNG, and When to Use Each
The image format you choose affects file size, quality, and how fast your pages load. Different formats serve different purposes, and knowing which one to use can cut your file sizes without sacrificing the visual quality customers expect.
Here’s a general guide to file formats for your food images:
- JPEG For Food Photos: This format balances quality and small file size better than anything else. Most food photography compresses well as JPEG images without losing the details that make dishes look appetising.
- PNG Files Keep Details Sharp: While PNG works great for your logo or icons, where you need crisp edges and transparency, it’s overkill for food photography. They create massive file sizes for photos. In fact, a single PNG photo can be three times larger than the same JPEG file.
- WebP Format Compresses Better: Modern browsers support this format, but older ones don’t (yes, even in 2026). If you upload to a platform that converts images automatically, WebP reduces file size by 25-30% compared to other formats.
- RAW Files Stay Off Websites: Always convert raw files before uploading. These file types run 10-20 times bigger than compressed JPEG images and destroy your load times completely.
Each format has its place, but for restaurant websites displaying food, JPEG gives you fast loading without compromising what customers see.
Compressing Images Without Ruining Quality
Image compression allows you to cut file sizes by 70% while keeping photos that still look professional and appetising. Understanding how compression works helps you pick the right approach for your restaurant website.
Below are the best approaches to compress images properly.
Lossless vs Lossy Compression (What’s the Difference?)
Lossless compression reduces file size without removing any image data permanently. You can always get back to the original file quality if needed. Most commonly, PNG files use this type of compression, which is why the file size stays so large.
On the other hand, lossy compression deletes some data to shrink files (no undo button on this one). JPEG uses lossy compression, and it’s perfectly fine for web photos when done right. The compression process removes details your eyes can’t detect anyway.
Building sites for Australian food businesses taught us that most restaurants worry about losing image quality. However, you can compress JPEG images by more or less 60-70% before anyone notices a difference on screen.
Best Compression Tools: Adobe Express and Free Options
You don’t need expensive software to compress images properly. Fortunately, Adobe Express offers quick compression with slider controls to balance quality and file size. Just upload your photo, adjust the settings, and download the compressed version.
Similarly, TinyPNG and Squoosh are free browser tools that compress without software downloads. These work great for restaurant owners who need to handle multiple photos quickly. The benefits include batch processing and side-by-side comparisons.
Not to mention, Photoshop gives you full control over JPEG compression levels when saving files. You can even preview how the image will look at different quality settings before you commit to a file size.
Getting Images Website-Ready: The Compression Process
Most image-related slowdowns come from files that were never optimised properly. Fixing them later is tedious, so it’s better to handle compression upfront.
Following these steps from the get-go saves you time and keeps your website running fast:
- Start with Quality Originals: A rule of thumb is, never compress an already compressed image. Instead, always work from the highest quality photo you have, whether that’s a RAW file or an unedited JPEG from your camera. Compressing an already compressed file just adds more damage without reducing the file size much.
- Resize Before You Compress: Match your images to your website’s display dimensions before compressing them. Say, if your site shows photos at 800 pixels wide, you shouldn’t upload 4000 pixel originals. It’s best to resize them first and then compress.
- Test Different Compression Levels: You need to find the sweet spot between quality and file size. We suggest aiming for under 200KB per image for fast loading. After that, upload a test photo, check how it looks on your website, then adjust if needed.
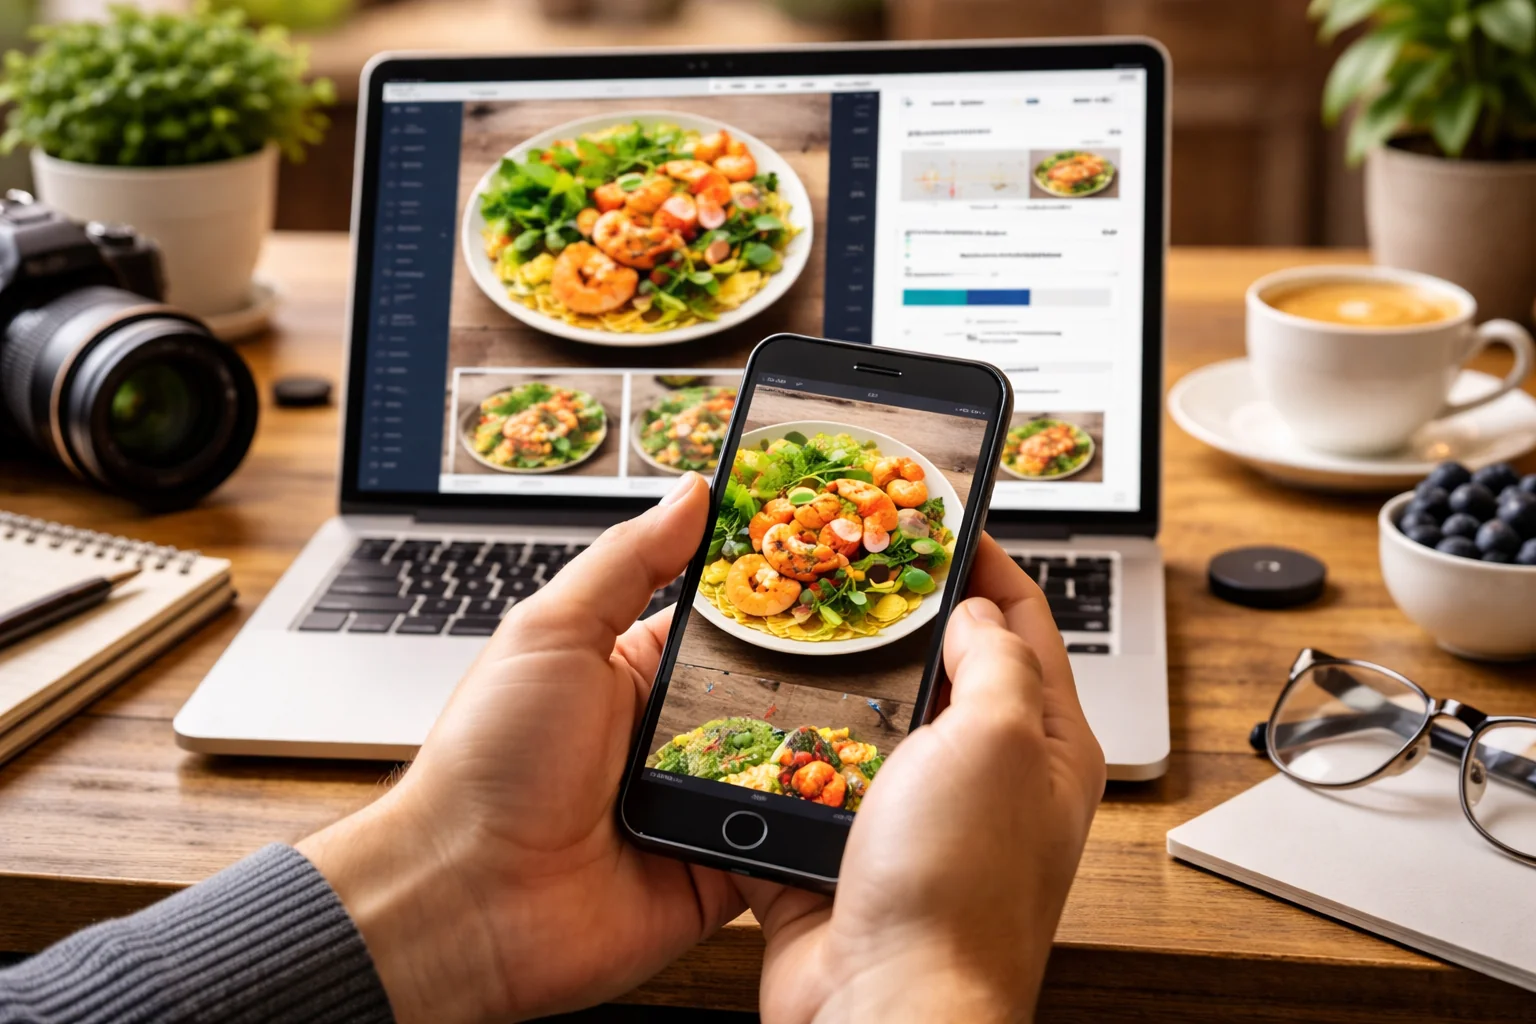
- Check on Mobile Devices: Now, don’t just look at the compressed image on your computer screen (guilty as charged if you’ve done this). Pull out your phone as well, and see how the photo displays on a smaller device. Load times and detail visibility change completely on mobile, after all.
Once you optimise a few images, the process becomes quick. Your food photography will load faster while still looking delicious to customers browsing your menu.
Pull More Out of Your Food Photos
Getting your food photography website-ready isn’t complicated once you understand file formats and compression. What you’re after is images that look delicious and load in under two seconds.
To achieve that, focus on JPEG files for most photos, compress them properly, and test on mobile devices. Maybe start with one or two hero images on your homepage. Compress them, check the file size, and see the difference in loading speed.
When your images are optimised, customers see your food faster and stay around longer. If you need help getting your restaurant website performing at its best, the team at Spoon Fed Atlanta builds fast, conversion-focused sites for food businesses across Australia.